

 22 Feb 2024
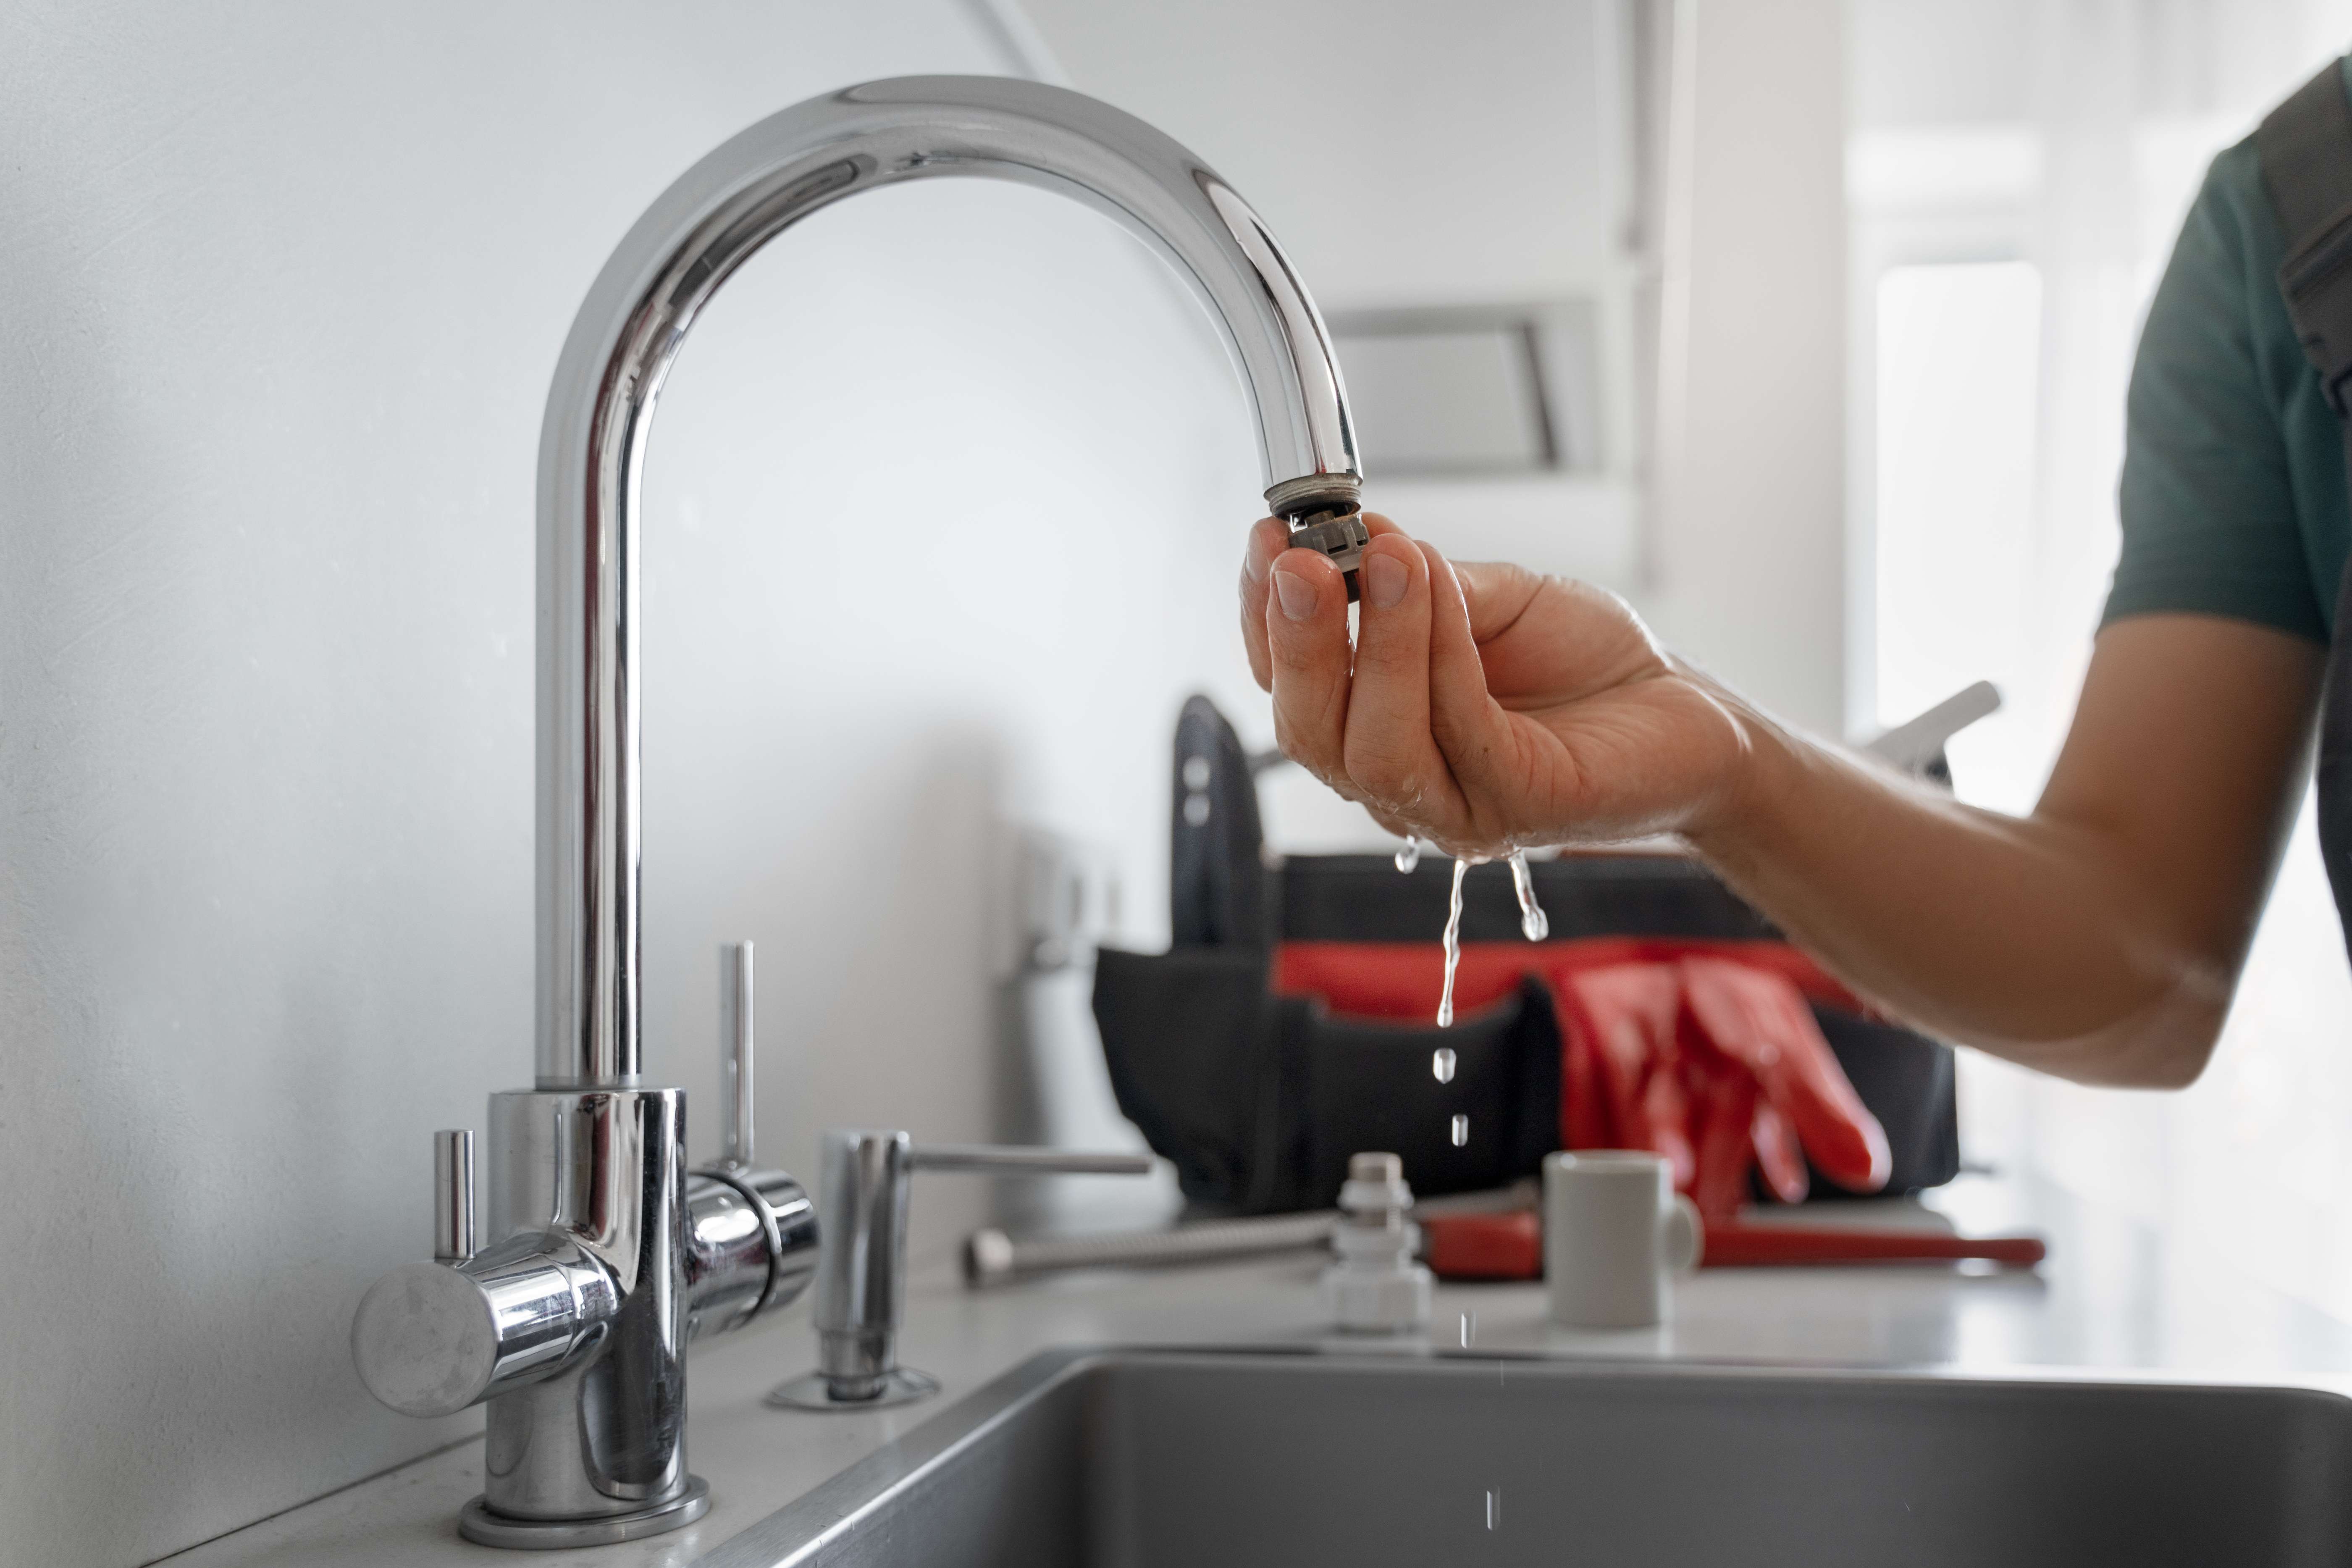
 Leaking taps are a common occurrence that you may come across in your home from time to time. Due to regular usage, taps can develop leaks, making it essential to address the issue promptly. Failing to do so can lead to increased water bills and repair costs for homeowners.
Contrary to popular belief, water tap leaking is not a complex task to fix. With the right methods or information, you can easily resolve a water tap leakage. This blog outlines the correct procedures for fixing a water tap leakage!
What Causes a Water Tap Leakage?
A leaking tap is a common household plumbing problem that often develops gradually through daily use. Although a small drip may seem harmless, it can waste a significant amount of water over time and increase your utility bills. Identifying the cause of a water tap leaking problem early allows repairs to be carried out before more extensive damage occurs. In many cases, the issue is caused by worn internal components, corrosion, or loose fittings that naturally deteriorate with age.
Here are Four Key Causes of Water Tap Leaking:
-
Worn-Out Washer
The washer is a small rubber or fibre component that creates a tight seal when the tap is turned off. Over time, constant friction causes the washer to wear out, harden, or lose its shape. Once the seal is no longer effective, water begins to pass through, resulting in a continuous drip. This is one of the most common causes of water tap leaking, particularly in older compression taps.
-
Damaged O-Ring
An O-ring is a rubber seal located around the tap stem that prevents water from escaping around the handle. As it ages, the O-ring may crack, become brittle, or loosen through repeated use. When this happens, water can leak around the base of the tap handle instead of flowing through the spout. Replacing the damaged O-ring usually resolves the problem quickly.
-
Corroded Valve Seat
The valve seat connects the tap body to the spout and plays an important role in controlling water flow. Mineral deposits and corrosion can gradually build up on the valve seat, preventing it from sealing properly. As a result, water may continue dripping from the tap even after it has been fully closed. Regular maintenance helps reduce corrosion and extends the lifespan of the tap.
-
Loose Or Broken Components
Daily use and constant water pressure can gradually loosen internal screws, nuts, and other mechanical parts inside the tap. Damaged or loose components create small gaps that allow water to escape, causing a water tap leaking problem that often becomes worse over time if left unrepaired.
Understanding Different Types of Taps
-
Compression Taps
Compression taps use a rubber washer that presses tightly against the valve seat to stop water flow when the handle is turned. Because the washer experiences constant friction during operation, it naturally wears out over time, making compression taps more prone to leaks than other designs.
-
Ball Taps
Ball taps use a rotating metal or plastic ball with internal chambers to regulate water flow and temperature. While they provide smooth operation, they contain several small internal components that can wear, loosen, or fail over time, eventually causing leaks if maintenance is neglected.
-
Cartridge Taps
Cartridge taps control water flow using a cartridge mechanism instead of a traditional washer. They are generally more durable, easier to operate, and less likely to develop leaks under normal use. However, a damaged or worn cartridge can still lead to dripping, reduced water flow, or inconsistent operation, requiring replacement to restore proper performance.
How Can You Fix a Water Tap Leakage?
Fixing a leaking tap at home is not complicated. You’ll just need the right tools and a bit of patience. Here’s a step-by-step breakdown:
Step 1: Turn Off the Water Supply
Before starting, locate the mains and turn off the water supply to avoid flooding.
Step 2: Plug the Basin
Insert a sink plug to stop small parts from falling down the drain.
Step 3: Remove Tap Button and Handle
Use a screwdriver to take off the tap button (usually marked hot/cold), then unscrew and remove the handle.
Step 4: Take Off the Skirt and Bonnet
Unscrew the metal skirt and bonnet to access the tap internals. This may require pliers or a spanner.
Step 5: Remove Washer and Jumper Valve
Once the tap body is open, remove the washer and jumper valve. Use tweezers if they’re stuck.
Step 6: Replace with New Parts
Take the old washer and jumper valve to a hardware store to find the correct replacement. Typical sizes are 12mm or 15mm.
Step 7: Reassemble the Tap
Insert the new parts, reattach the bonnet and skirt, then screw the handle and tap button back on.
Step 8: Restore Water Supply
Turn the main water back on slowly and test the tap. If the leak has stopped, you’re done.
Water Tap Leakage Repair Steps
Step 1: Plug the Washbasin
Insert a plug into the basin or washbasin to ensure that no components are lost down the drain during the repair.
Step 2: Take the Tap Button Off
Take off the tap button, usually labelled “hot” or “cold,” from the top of the tap. A screwdriver may be required to complete this step.
Step 3: Remove the Handle
Depending on your tap model, you might need to detach the handle to gain visibility inside. Typically, this involves unscrewing the handle using a spanner or an adjustable wrench.
Step 4: Take Off the Tap Skirt
If your tap has a skirt or shroud, often made of metal, unscrew it using a wrench or a pair of pliers. This step may be challenging due to sealants.
Step 5: Remove the Tap Bonnet
To reach the washer and jumper valve, remove the tap’s body by unscrewing it with a spanner. Ensure not to misplace it, as you’ll need it for reassembly.
Step 6: Remove the Jumper Valve and Washer
After removing the bonnet, locate the washer and jumper valve. Sometimes, the jumper valve may come off with the tap body, but this is not an issue if you know its location. If necessary, use tweezers or needle-nose pliers to extract the washer and jumper valve.
Step 7: Locate the Right Replacement Washer
Take the washer and jumper valves to your local hardware store to purchase replacement parts. Typically, tap washers in residential homes are 12 mm, but in some cases, they may be 15 mm or larger. Consider getting silicone for skirt sealing to prevent future mould growth.
Step 8: Change the Washer
Reinstall the jumper valve and washer within the tap.
Step 10: Assemble Your Tap
Reinstall the tap bonnet and tighten it with a spanner or tool after the washer and jumper valve is in place. However, until you are certain that the tap is fixed, avoid applying silicone to the skirt’s bottom.
Step 11: Activate the Main Switch
It’s time to fully shut off the water supply and reactivate the main water supply but be careful not to shut it off too firmly.
What Tools Are Needed to Fix a Leaking Water Tap?
To carry out a successful repair, keep the following tools ready:
- Adjustable spanner or shifting wrench
- Pliers
- Screwdriver
- Tweezers or needle-nose pliers
- Gaffer tape
- Cloth or towel
- Replacement washers (usually 12mm or 15mm)
- Jumper valve
- O-ring
- Resealing kit or silicone (if needed)
The right tools make repairing a water tap leaking far simpler. Always confirm your replacement parts properly match the tap’s existing components.
Conclusion
These steps provide a proper guide for fixing water tap leaking. Acquiring the skills to repair a leaking tap is a valuable ability that can lead to both cost and water savings. With the right tools and a systematic approach, this common plumbing issue is manageable for everyone. Homeowners can effectively address leaking taps and mitigate water waste by familiarizing themselves with the disassembly and repair procedures.
If you are still unable to fix the water tap leakage, you should engage with professionals. K. Heng Plumbing is the leading plumbing company that offers you the best help. We are equipped with advanced tools and solutions that fix the water tap leakage quickly. Connect with our K. Heng Plumbing to learn more about the service!
Frequently Asked Questions:
Look for constant dripping or small puddles forming under the sink. A ticking or dripping sound may also indicate leakage.
Yes. Delaying repairs can waste litres of water daily and may lead to internal damage or mould growth.
Most leaks are simple to fix if you follow a clear process. You just need the right tools and parts.
On average, it takes about 30 to 45 minutes to repair, including part replacement and reassembly.
If the leak persists after repair, double-check that all parts are tightened and correctly installed. If unsure, contact a plumber.
Not always. Many leaks are DIY-friendly. But if you’re uncomfortable or the leak returns, it’s best to hire a professional plumber.
Take the tap apart and inspect each part. Common signs include brittle washers, loose valves or visible corrosion.