 18 Oct 2023
Every homeowner dreads the day when they might spot the signs of a leaky pipe – a spreading puddle of water, a damp spot on the wall, or a steadily increasing water bill. The sight of a leaking pipe is not only bothersome but also signals potential damage to your precious home.
But don’t panic just yet; even as you wait for a professional plumber to arrive, there are steps you can take to control the situation.
This blog is a comprehensive guide that will help you navigate the process of temporary pipe repair methods. From identifying the source of the leak, and gathering the essential tools and supplies, to applying emergency pipe repair techniques, we cover it all.
We’ll also discuss when it’s necessary to call a plumber and their role in fixing these issues.
Remember, these steps are not meant to replace professional help but to assist you in minimizing potential water damage as you wait for the plumber. By the end of this blog, you’ll feel more prepared to tackle a leaking pipe situation.
Identifying a Leaky Pipe
Let’s get started by figuring out if it’s indeed a leaky pipe that’s causing you grief. Look for signs of water damage – wet spots on the ceiling or wall, damp cabinets, pools of water. Sometimes, you might even hear a faint hissing sound – that’s water escaping under pressure. If your water bills have been skyrocketing, that’s another clue.
Gathering the Essential Tools and Supplies
Now, before we dive in, you’ll need a few things. Rummage around your toolbox for a wrench, screwdriver, and perhaps a pair of water pump pliers. Then, head to your nearest hardware store and grab some plumber’s tape, epoxy putty, and a pipe repair clamp. These won’t cost you much, and they’re great to have on hand for temporary pipe repair methods.
5 Steps to Take While Waiting for a Plumber
- Stop the Flow of Water
First off, shut off the water. Look for the main water valve – it’s usually near where the main water line enters your house. Turn the valve clockwise to stop the water flow.
- Clean Out the Area
Next, clear the area around the leaking pipe. You don’t want your valuable items getting water damage. Plus, a clear space makes it easier to work and helps prevent slipping hazards.
- Tighten the Joints of Pipe
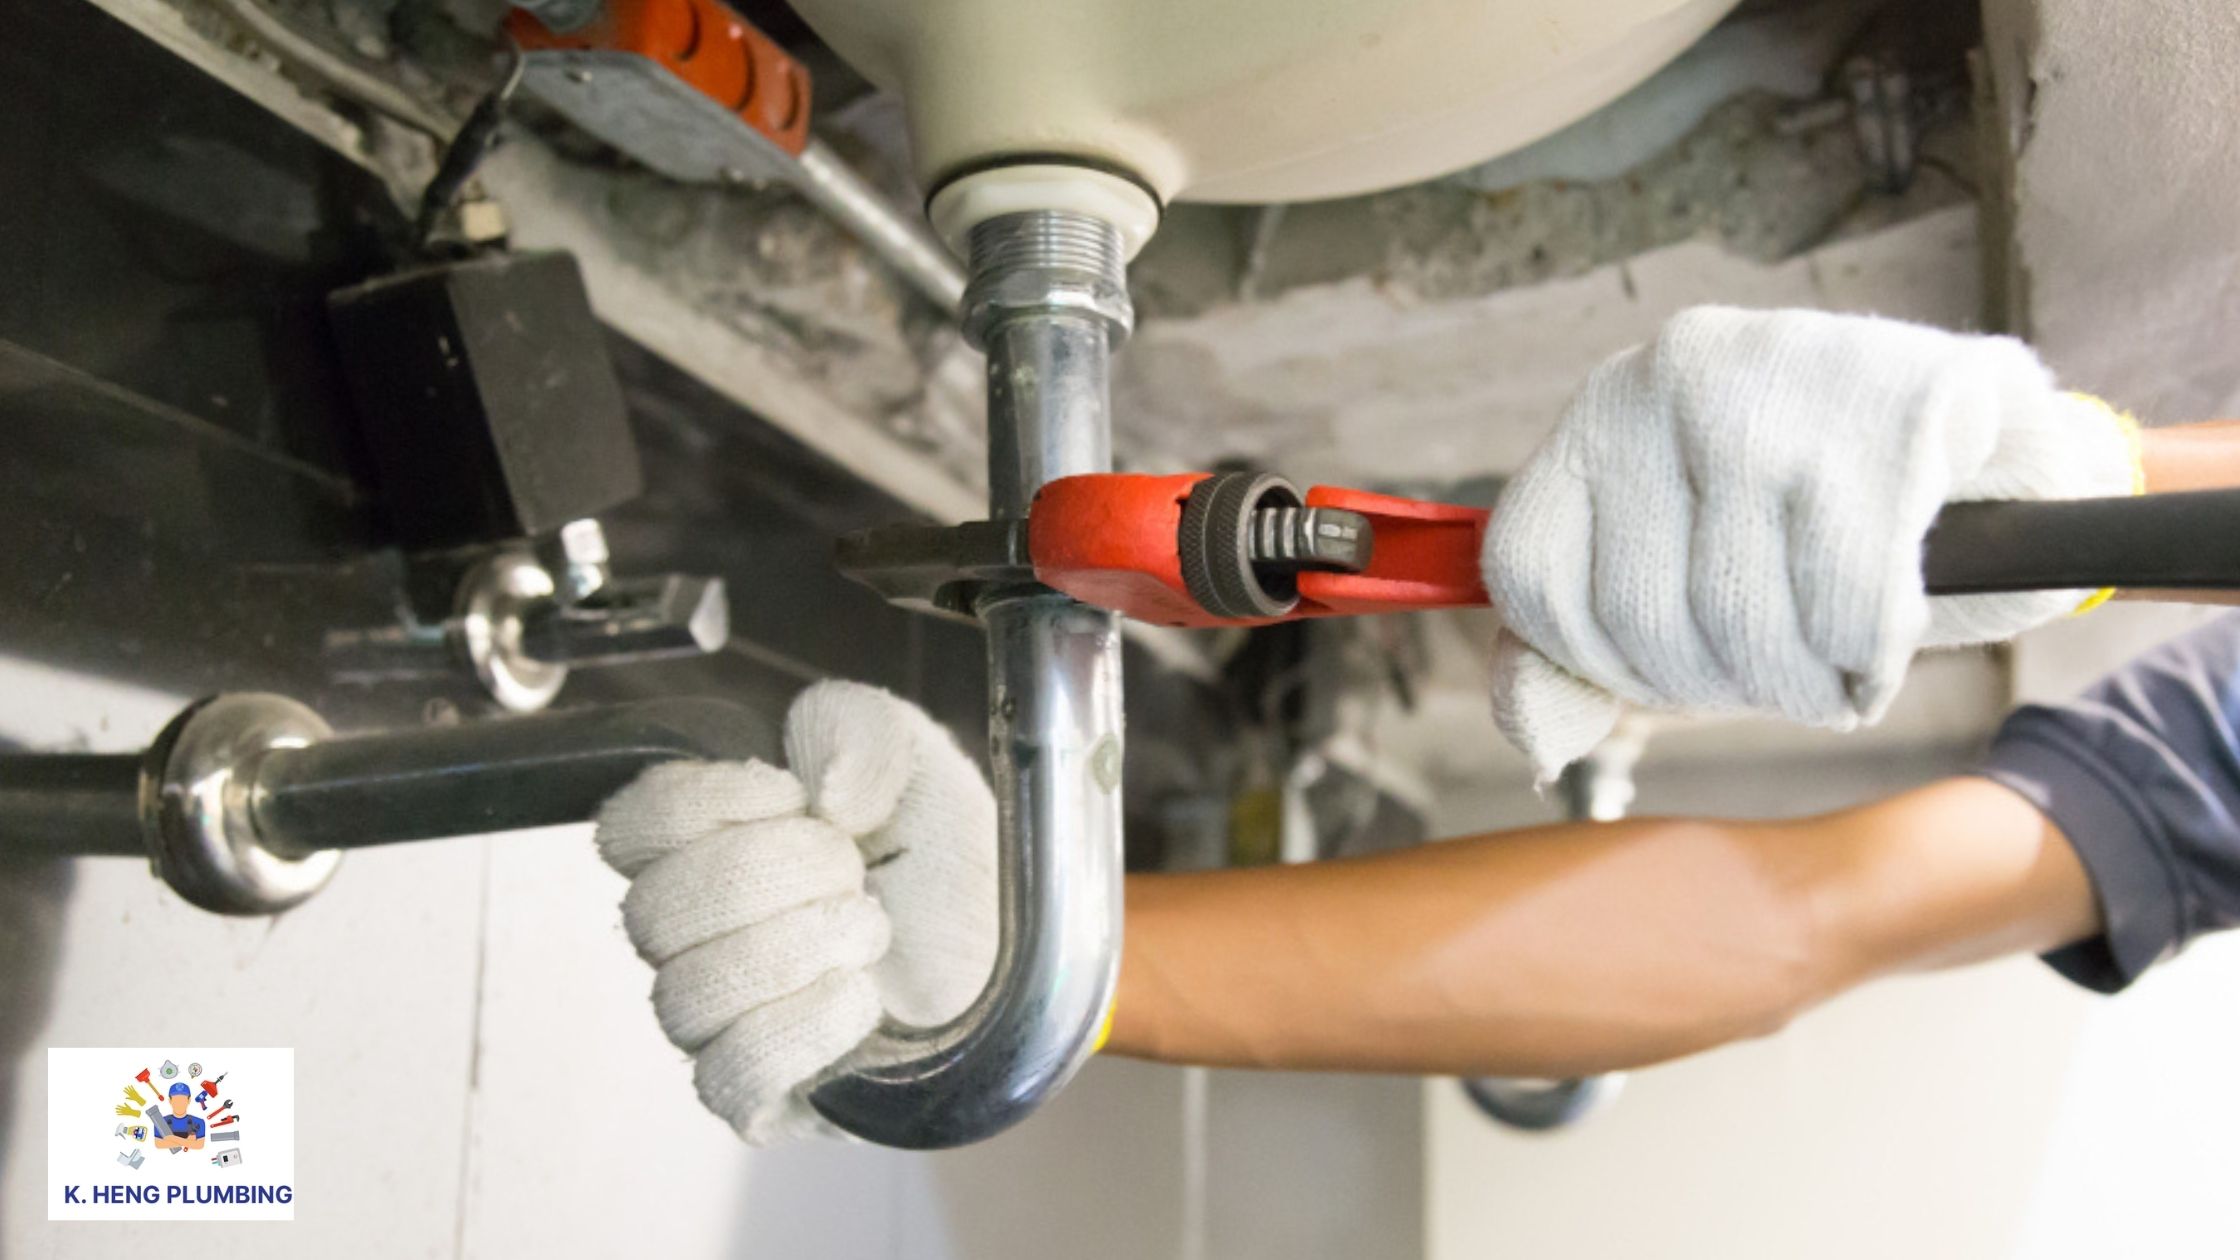
With the area cleaned, use your wrench to gently tighten the joints of the pipe. Emphasize gently because over-tightening can cause more harm than good. You’re just aiming to slow the leak.
- Apply Plumbing Epoxy to Patch the Pipe
Now, let’s get used to some epoxy putty. Follow the instructions on the package and knead that stuff into a pliable mass. Apply it over and around the leak, making sure it’s completely covered. Remember, it’s about stopping that leak using our emergency pipe repair techniques.
- Use Pipe Repair Clamps
As a final touch, secure a pipe repair clamp over the area. This will provide extra pressure and help hold the epoxy in place while it sets. This is one of the essential steps in temporary pipe repair methods.
When to Call a Plumber
These steps should help keep the water damage at bay, but remember, they’re only temporary. Some leaks, especially those resulting from rust or corrosion, need professional attention. Plus, a trained plumber in Singapore can detect any hidden leaks and offer long-term solutions. When it comes to plumbing, it’s better to be safe than sorry.
Understanding the Role of a Professional Plumber
As much as these tips can help in a pinch, nothing replaces the expertise of a plumber. They are trained to deal with a host of plumbing problems, ensuring they’re properly resolved without causing further damage.
Precautions to Keep in Mind
Always remember to wear protective gloves when handling tools and applying epoxy. Do not use these temporary fixes for large leaks.
So, there you have it, a guide to leaking pipe repair while waiting for your trusted plumber to arrive. Remember, your trusted plumber is just a call away.
